grab our FREE
‘Do’s & Don’ts of what to add to your website’ Guide.
‘Do’s & Don’ts of what to add to your website’ Guide.
emails with additional helpful content.
Hi, we're so glad you found us.
We love helping creatives like you finally have the website you’ve always wanted.
few simple steps
Follow us
How to use Storyboards to create Video & Idea Pins
Last week, we took you through our three-step process on how to create great video pin ideas. And in Part Two, we want to take those ideas and turn them into a story. We’ll do this by following our step-by-step process on How to use Storyboards to create Video Pins.
Missed Part 1? How to Create Great Video & Idea Pins? Check it out here.
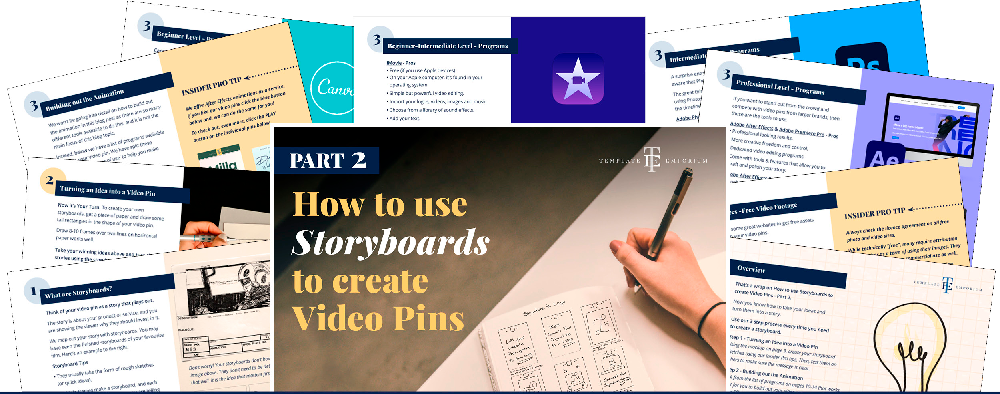
Prefer Part 2 as a FREE guide? You’ll find it here!
Index
What are Storyboards?
Storyboard Tips
Using Storyboards in Video Pin Tips
Our Video Pin Storyboards
Storyboard Example and completed Video Pin 1
Storyboard Example and completed Video Pin 2
Turning an Idea into a Video Pin
Now it’s your turn
Insider Pro Tips to Storyboards
Testing your Storyboards
Building out the Animation
Beginner Level Software
Beginner-Intermediate Level Software
Intermediate Level Software
Professional Level Software
Resources
Free Video Footage Resources
Reuse Your Assets
Insider Pro Tip
Economical Video Footage Resources
More Expensive Video Footage Resources
What are Storyboards?
Think of your video pin as a story that plays out.
The story is about your product or service, and you are showing the viewer why they should invest in it.
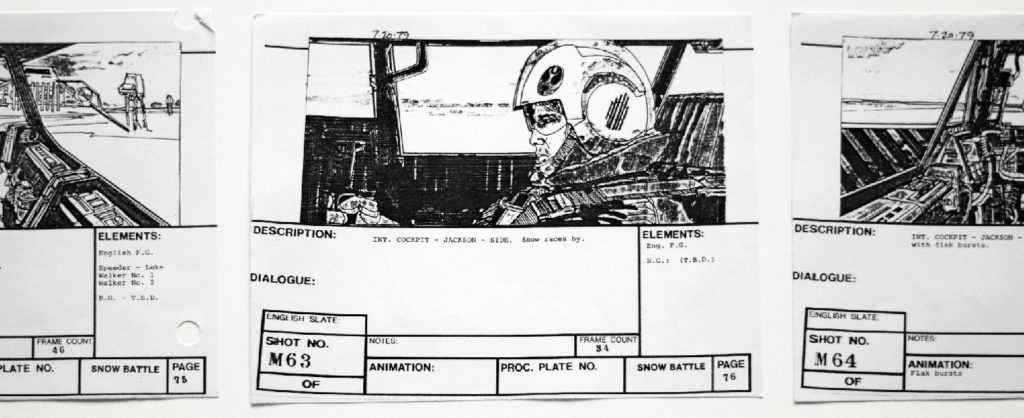
We map out your story with storyboards. You may have seen the finished storyboards of your favourite film. Here’s an example of one below.
Image from Unsplash.
Don’t worry! Your storyboards don’t have to be that detailed or drawn that well. It is the idea that matters first and foremost.
Storyboard Tips
- They usually take the form of rough sketches (or quick ideas).
- Multiple frames make a storyboard, and each frame is a key point in the story you are telling (called a keyframe).
- You don’t have to be a great drawer! Stick figures will do! It is the message that matters more!
Using Storyboards in Video Pin Tips
- Make each storyboard frame the same shape as the final medium it will appear on. Pinterest would be tall and skinny. And a Big Screen movie would be wide & short.
- In Part 1, we showed you how to come up with a Creative Headline* Use your chosen one here to draw in your audience.
*Need a refresher on how to do this? Part 1 will guide you through. - Use images that complement the headline. They can be a mix of your product and stock video or photography.
- End the video pin with a CTA (Call to action). Tell the viewer what you want them to do next – E.g. BUY NOW, or SHOW ME MORE.
Our Video Pin Storyboards
Here are some examples we created for our video pins below.
Note that Tom re-drew these as the originals were quite rough.
If you were showing these to a client or friend to review, it is best to clean up your storyboards and make them as legible as possible.
If it is only you viewing them, keep them as rough as you like!
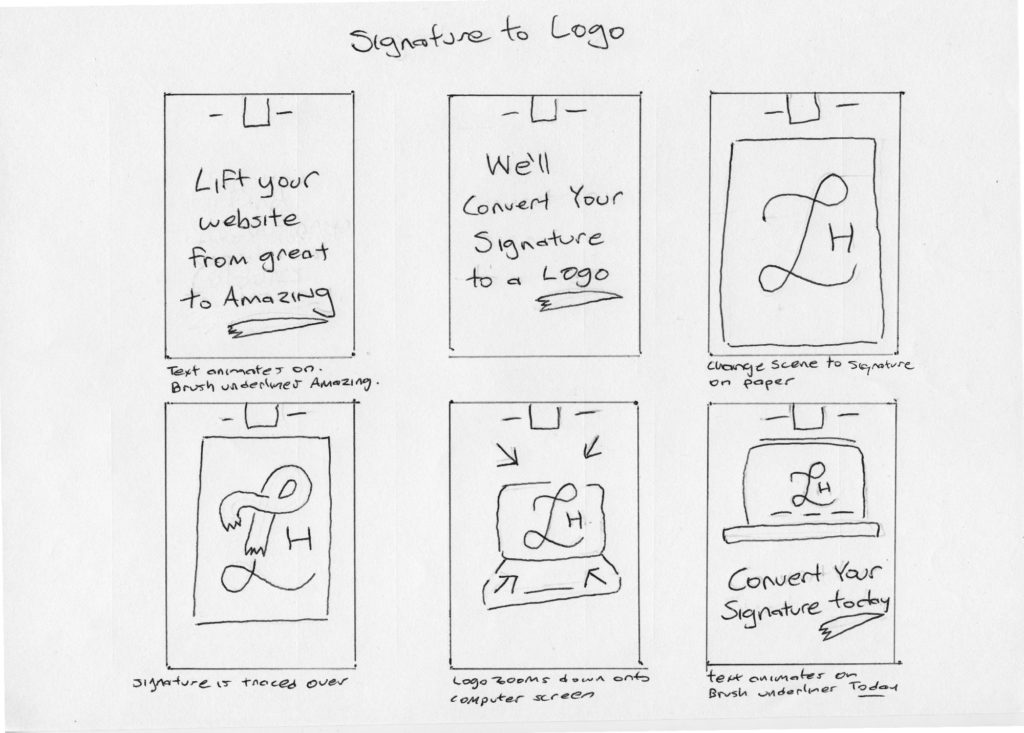
Storyboard Example 1
Below are our storyboards for a service we offer Signature to Logo that we turned into a Video Pin.
The created video pin is below the storyboards. Press PLAY to see it in action.
Storyboard Example 2
Here are some other storyboards for our Showit Website Templates using the Creative Headline – Pick, Place, Publish.
The created video pin is below the storyboards. Press PLAY to see it in action.
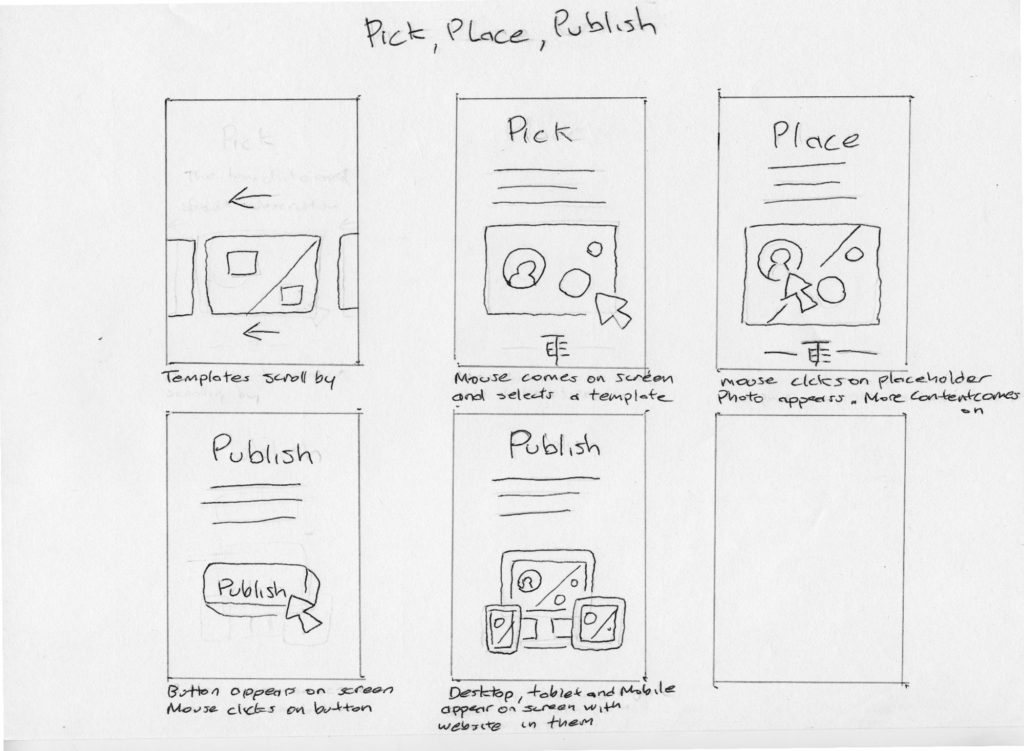
Turning an Idea into a Video Pin
We animated our video pins using Adobe After Effects. But the same story could have been told by just showing frames that flip between each other.
That is why it is so important to get your idea right first.
If the idea and offer are not right, you will not get people converting to customers.
Now it’s your turn
Get a piece of paper and draw some tall rectangles in the shape of your video pin.
Drawing 8-10 frames over two lines on horizontal paper works well.
Insider Pro Tip to Storyboards
It may be better to draw these boxes with a pen, and the content in pencil, so you can erase the contents if required without having to redraw the border every time.
Take your winning ideas above and turn them into stories using the storyboard frames.
A simple technique to create a video pin storyboard would be the following:
Opening frames:
Use the creative headline you created to draw people in and grab their attention.
Complement the headline with your product images and any people or location photos you would like to help tell the story.
Such as the example below:
We open in a child’s room with the headline ‘Create Wonder’ at the top of the frame.
Our Illustrated decals animate on the wall, one after the other.
Middle frames:
Add some supporting text that expands on the creative headline, giving the viewer more information and a reason to invest.
Such as the example below:
Our hand-illustrated, decals teach your child while looking great.
End frames:
Finish your story with a CTA (call to action) so people know what to do next. Such as ‘Buy Now, ‘Reserve your Place’, and ‘Show Me How’.
Testing your Storyboards
Once you have your storyboard flowing just right, it is time to show it to friends, or better yet, potential customers to see if the message is clear.
Take all this feedback on board to make any revisions if needed.
If this blog is helpful to you, download it as a FREE guide here!

Building out the Animation
We won’t be going into detail on how to build out the animation in this blog post as there are so many different tools available to do this, and it is not the main focus of this blog topic.
Instead, below we have a list of programs available to create your video pin. We have split these up into Cost & Ease of use to help you make the right decision.
Once you pick a suitable program, there are many video tutorials on youtube or within the listed companies that offer help documents.
Remember, you can always outsource your video pin build if you don’t have time or want a more polished look for your brand.
We offer After Effects animations as a service – If you like our video pins – contact us here and, we can do the same for you!
If you need stock video footage or still footage for your video pin, we have also included that in the Resources Section below.
Beginner Level Software
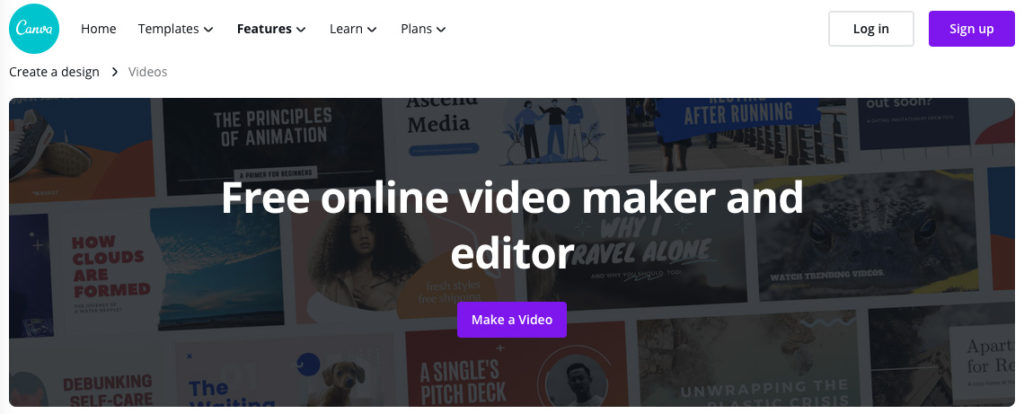
Canva
Pros
Canva is a great starting point due to the following:
- Free to use (with limitations).
- Ease of use.
- Inbuilt video resources.
- Templates inbuilt for social media platforms.
- Free and paid stock video.
- Ability to upload your product images, music, footage and stills.
Cons
- Restricted creative freedom.
- The free version has limitations.
- The results are not as polished as the options below.
- May find that you have to upgrade to the paid version for more features.
- Canva is geared towards ease of use over creative freedom and polish.
Beginner-Intermediate Level Software
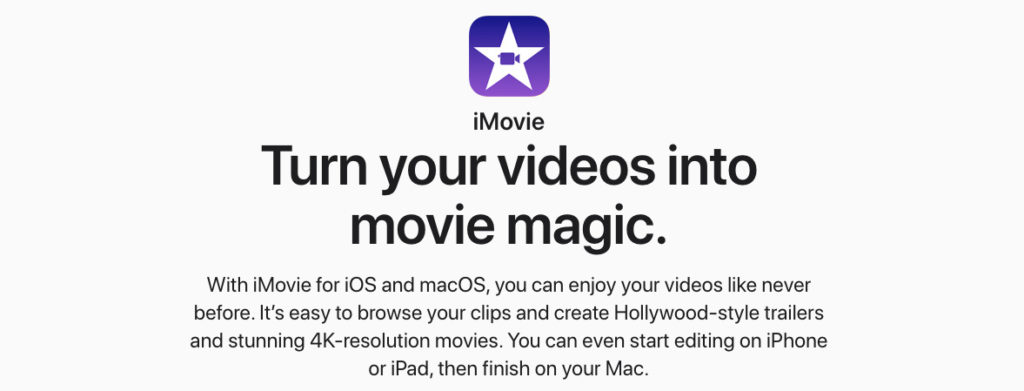
iMovie
Pros
- Free (if you use Apple devices).
- On your Apple computer, it’s found in your operating system.
- Simple but powerful video editing.
- Import your logos, videos, images and music.
- Choose from a library of sound effects.
- Add your text.
- Choose from a variety of basic transitions to add in-between scenes.
- Lots of tutorials are available on Youtube.
Cons
- Only exports 16:9 (standard TV size). There are ways around this using Keynote or Quicktime player. But some people might find this process fiddly. We found this video helpful.
- No Windows version.
- No inbuilt stock footage like Canva.
Intermediate Level Software
Adobe Photoshop
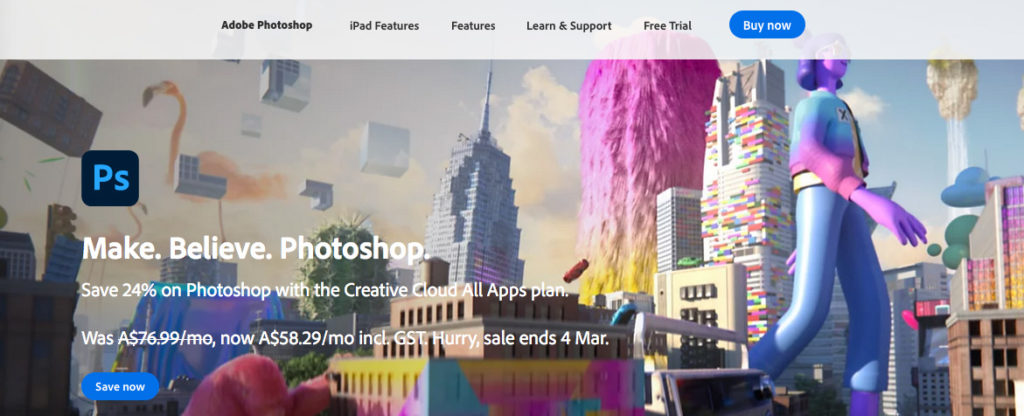
A surprise entry in this list as most people aren’t aware that Photoshop can create a video.
The great thing is if you are already familiar with using Photoshop, then you only have to skill up on the timeline functions to make great videos.
Pros
- You may already be using Photoshop in your workflow.
- You can design, animate and export all in one program.
Cons
- Only Simplified tools and effects.
- Is not a dedicated video editing program.
- Not Free to use
Professional Level Software
Adobe After Effects & Adobe Premiere Pro
If you want to stand out from the crowd and compete with video pins from larger brands, then these are the tools to use.
Pros
- Professional-looking results.
- More creative freedom and control.
- Dedicated video editing programs.
- Come with tools & features that allow you to craft and polish your story.
Cons
- Much higher learning curve!
- Not Free to use
You can always outsource the animation to a professional – we offer video pins as a service.
Resources
Free Video Footage Resources
Below are some great websites to get free assets to use with your video pins.
Pixabay
Royalty-free video and static images – no attribution to author required.
Pexels
Again, royalty-free video and static images – no attribution to author required.

Unsplash
Another royalty-free image site – no attribution to author required.
Reuse Your Assets
After we finish building our TE website templates, we reuse all the images in our video pins.
For example, as a surface pattern designer, you could create a video pin that reflects the upcoming season. And then build a video pin containing your bright, colourful patterns for summer.
Insider Pro Tip
Always check the licence agreement on all free photo and video sites.
While technically “free”, many require attribution to the author as a term of using their images. They may have restrictions on commercial use as well.
The resources above do not require attribution to use their photos and videos, although it is always nice to credit fellow creatives for their hard work if possible!
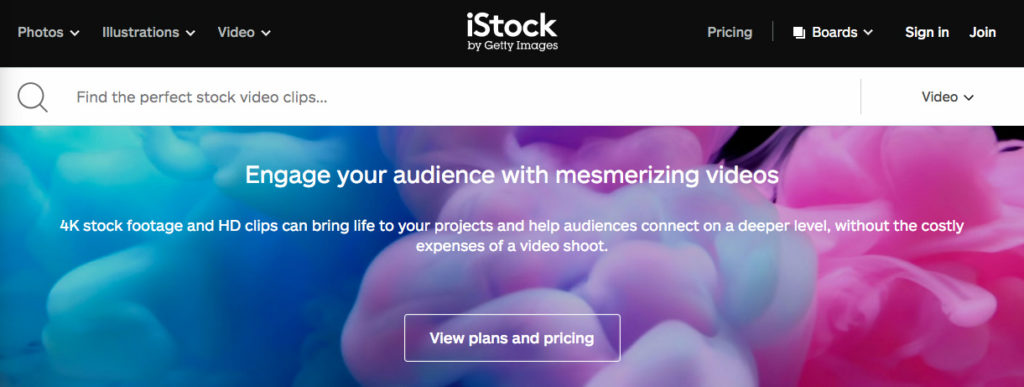
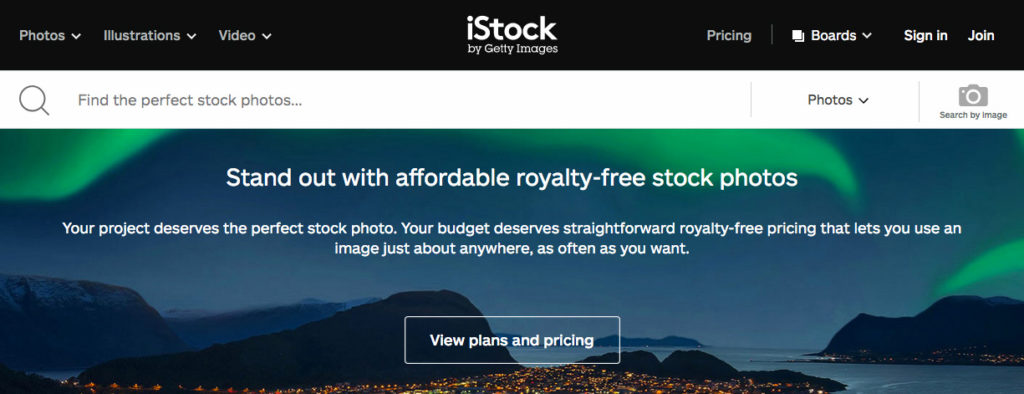
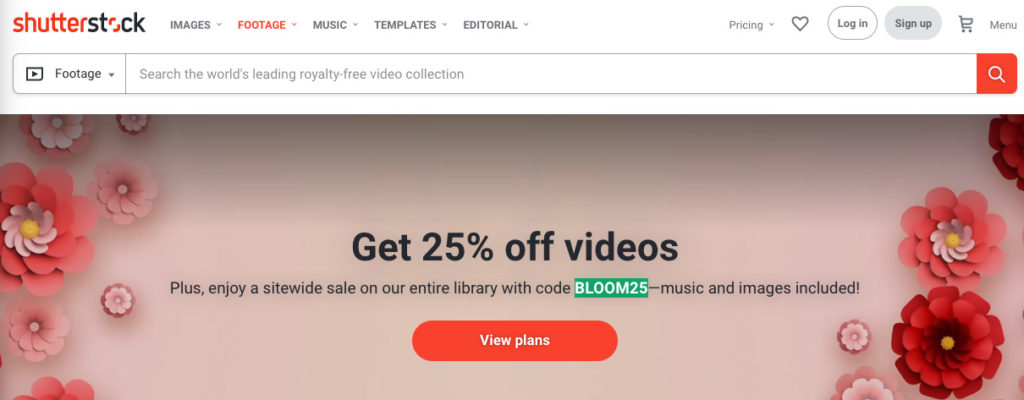
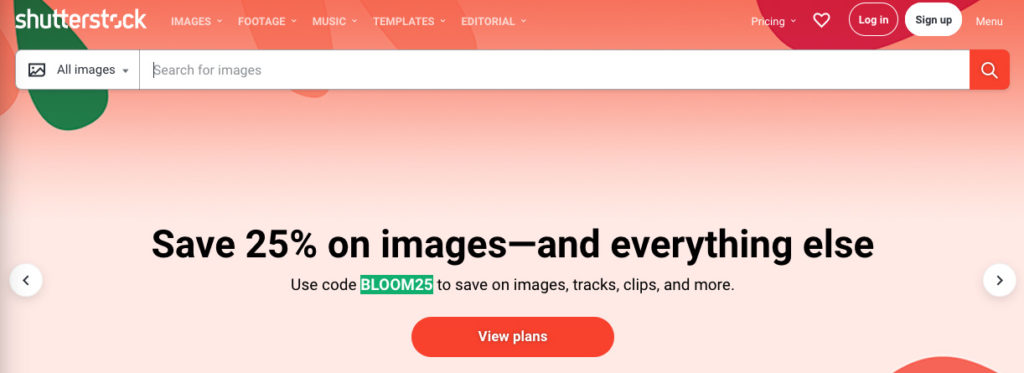
If you need video footage or stills that you can’t find for free – we can recommend the sources below.
Economical Video Footage Resources
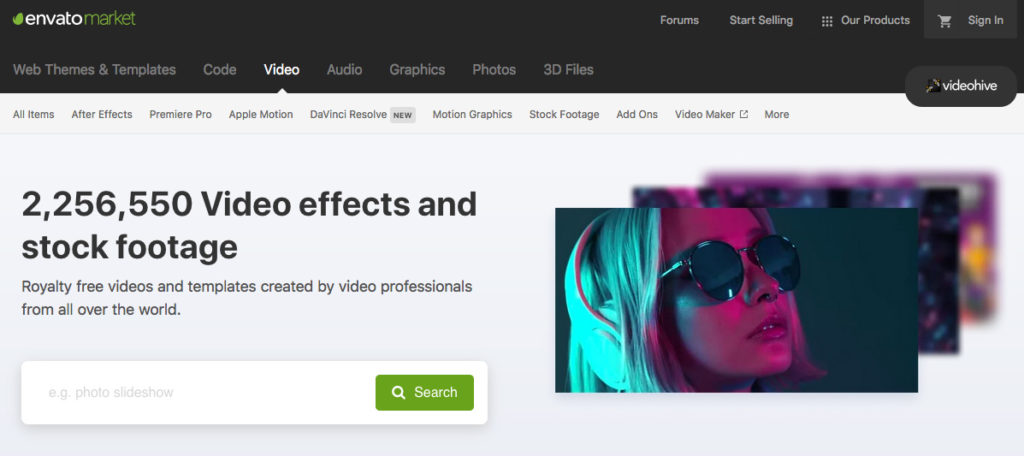
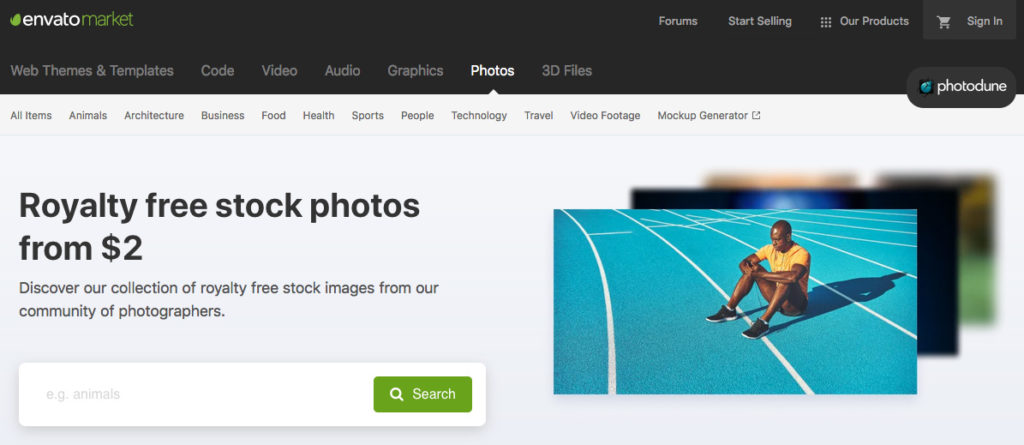
The two options below are from Envato and offer more economical choices.
More Expensive Video Footage
Resources
Where to now?
- Free guide download – How to use Storyboards to create Video Pins.
- Check out Part 1 of this series – How to Create Great Video Pin Ideas.
- Confused over Vector Vs Raster Files? This blog is your ultimate guide.

Like the Blog Post?
PIN IT FOR LATER. And for more helpful tips follow us on PINTEREST.
Search
Create & launch your website in a
few simple steps
FREE GUIDE
While you’re here,
grab our FREE
‘Do’s & Don’ts of what to add to your website’ Guide.
‘Do’s & Don’ts of what to add to your website’ Guide.
When you sign up, we’ll send you
emails with additional helpful content.
About Lavinia & Tom
Hi, we're so glad you found us.
We love helping creatives like you finally have the website you’ve always wanted.
Blog Categories
Follow us