grab our FREE
‘Do’s & Don’ts of what to add to your website’ Guide.
‘Do’s & Don’ts of what to add to your website’ Guide.
emails with additional helpful content.
Hi, we're so glad you found us.
We love helping creatives like you finally have the website you’ve always wanted.
few simple steps
Follow us
Inspirational Mood Board Series – Destination Wedding Photographer
We all need a break from everything that is happening in the world at the moment. And our Inspirational Mood Board Series is the perfect escape to take you away from it all.
We may not be travelling as much as we would like to at the moment, but that doesn’t mean you can’t dream about swaying palm trees in the tropical breeze and icy cocktails waiting for you at the swim-up bar.
Welcome to Part 2 of our Inspirational Mood Board Series – Destination Wedding Photographer.
Before we get started, missed a part of our Mood Board Series? Catch up below.
- Our Favourite 5-step Process to Creating a Mood Board
- Destination Wedding Photographer (this is the blog you’re reading)
- Surface Pattern Designer Mood Boards
- Artists & Illustrator Mood Boards
- Pattern Designer Mood Boards
Want more Mood Board Ideas? Scroll to the bottom.
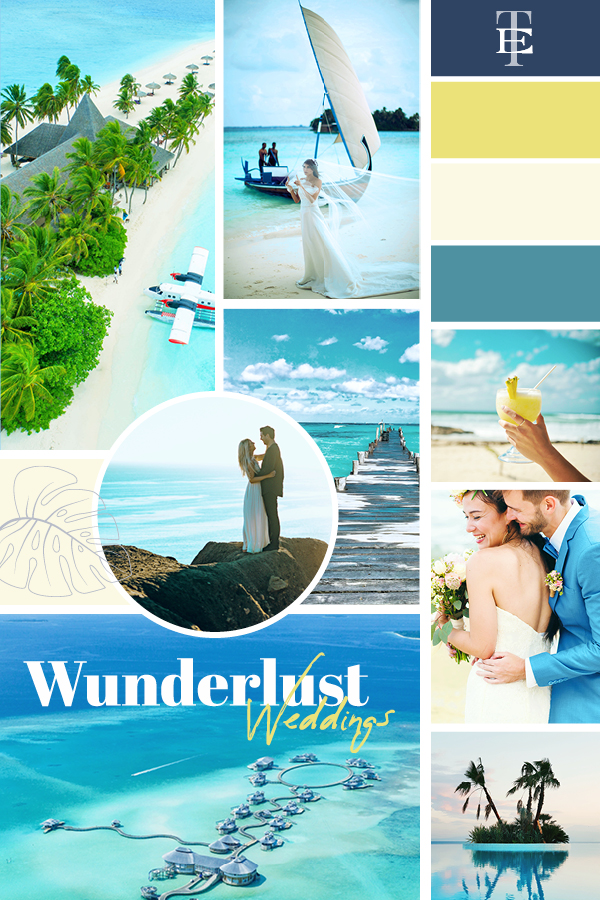
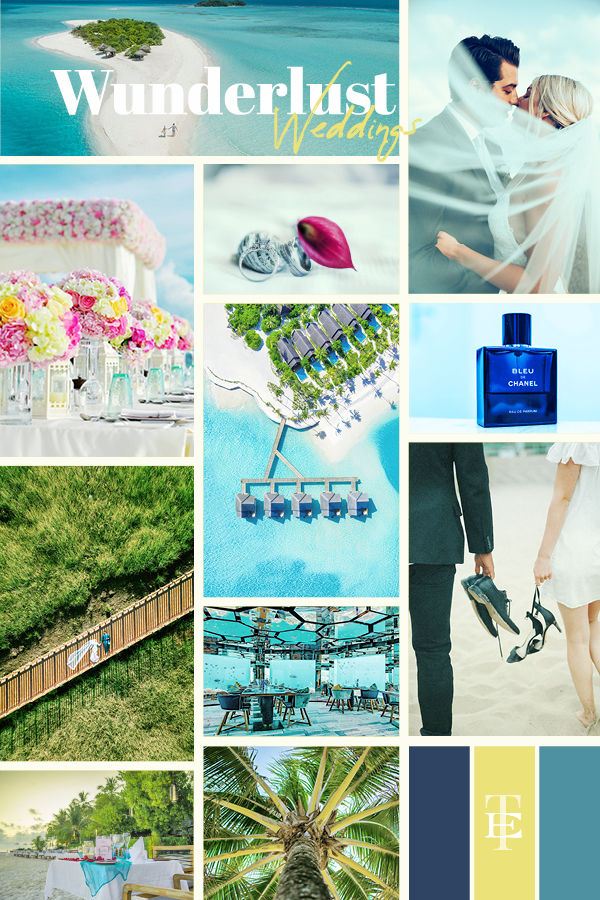
We have used our favourite process again with our Wanderlust Weddings Mood Board, here’s how we did it.
Step 1 – Decide on an Idea
Tom and I love Tropical Island holidays. And over the years we have travelled to some incredible places including Bora Bora in Tahiti for our honeymoon, Aitutaki in the Cook Islands, Fiji and Hawaii.
And no matter what island we went to, there was always at least one beautiful wedding taking place in paradise.
Moments captured by destination wedding photographers is like nothing you have ever seen. Every shot is spectacular, grand and breathtaking yet feels romantic and relaxing at the same time.
We, however, soon discovered that Destination Wedding Photographers, had a big struggle when it came to finding a website template that suited them.
There were plenty of website templates for “wedding photographers”, but Destination Wedding Photographers had different needs.
So we decided to create a website template that encapsulated everything they wanted ( & some things they didn’t even know they needed!).
Pick a Theme
Having a clear theme and direction means your Mood Board will make sense and will not include random images that although may look nice, have no connection to the overall theme.
Our Website Template Theme: Destination Wedding Photographers
Give your Mood Board a Name
Wanderlust Weddings
We chose Wanderlust because the photographers we met had such a strong passion and love for photography and travelling.
And, as soon as one wedding was over, they were ready for the plane ride to their next destination.
So Wanderlust Weddings seemed fitting for the name of our board.
Even if you name it WIP Mood Board (Work in Progress) to begin with, once you start building out your Mood Board, names will pop up inside your head.
Tagline
A tagline is a short line of copy that sums up everything the Mood Board represents.
As we do with all our Mood Boards, we like to think of three words that best represent the board.
Our 3 words: Tropical, Romantic, Relaxing
Our Tagline: Photography by Sand, Sea and Somewhere In-Between
For every colour, photo or font you even think about adding to your Mood Board, check in with your three words and Tagline first.
Is there a perfect match with at least one word? If yes, fantastic add it to the board.
If it’s a maybe or no – file it away for another time. (You never know what other Mood Board it might be more suitable for).
Step 2 – Finalise the Format
Your Idea? – Sorted!
Your Theme? – Sorted!
Now you have to decide how you will display your inspiration.
Physical or Digital?
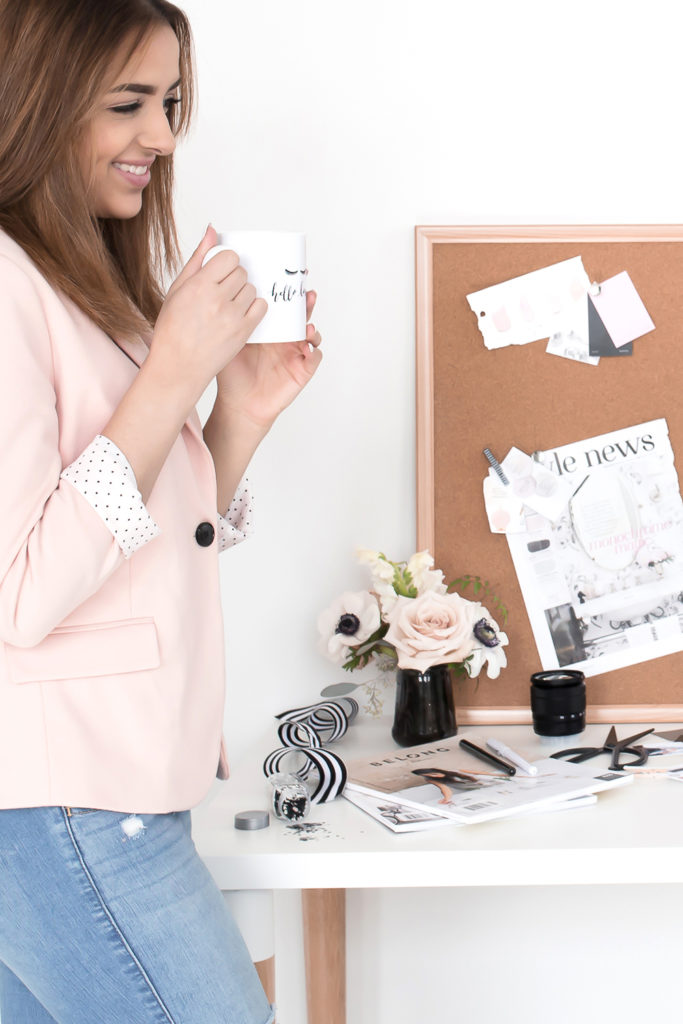
If you have never heard of a physical Mood Board before, think of a Bulletin, Cork, or Vision board where you can pin or stick ideas to it.
Similar to the photo below supplied from Haute Stock.
How to know if a Physical Mood Board is right for you.
Answer Yes or No to the following questions.
Do you enjoy flipping through magazines and ripping out articles or images you like?
When looking through printed material, are you drawn to particular fonts and colours?
Do you skim through brochures or catalogues and tear out photos you find inspiring?
Do you need somewhere to put all the cards, postcards and clothing tags you have collected for ideas?
If you answered mostly YES – then you will love creating a physical mood board.
Firstly, find yourself an actual board
I use a vision board like this one from Kiki K.
Or you could try a Cork or Bulletin board.
3 Senses with your 3 words
Although we have five senses, the sense of Sight, Smell and, Touch works best with creating Mood Boards.
Sight
Visually, what represents your theme?
When you start collecting photos and images, ensure the ones you pick, relate to your three words and tagline.
When you look at the images, what feelings come up? Do they link back to your three words? Try the same method if you were to describe the image to someone.
Smell
Sometimes it’s hard to put into words what you are seeing or feeling. Instead, try using a scent that sums up what your Mood Board is all about.
We chose the scent of Reva De Tahiti – a perfume we purchased when in Bora Bora and the smells of Gardenia take us right back to our Tahiti honeymoon.
Insider Tip
The scent of a candle is another way to help imagine the mood you are expressing with your board.
Look at places you’ve been to that capture the mood. Disneyworld’s Polynesia resort does that with the smells of the tropical islands when you enter the lobby. And that’s been captured in a Polynesia candle. When you burn it, suddenly you’re transported to the swaying palm trees under candlelit dinners.
Touch
Try adding textures including ribbons, material and paper to help bring your mood board to life.
These articles will also help tell your Mood Board’s complete story.
We included a tiny bottle of sand, seashells and a part of a palm leaf.
Have fun doing this activity. You will be surprised how your mind will start to think differently and, new ideas will begin to flow.
Digital Mood Board
We always take a photo of our completed Physical Mood Board and use this as a reference if we want to create a digital version.
To create a Digital Mood Board, you will need Graphics Software.
As designers, we use either Indesign or Photoshop.
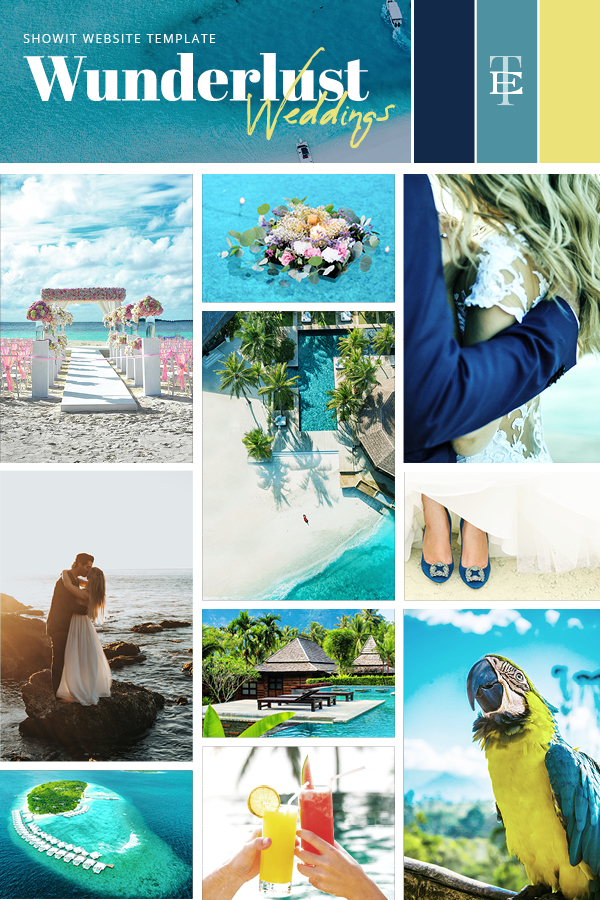
Creating a Digital Mood Board
- Sketch out by hand, three to five layout options
- Pick your favourite layouts
- Mock-up your options using Indesign/Photoshop* and save as a template
*For our non-designer friends, Canva is a great alternative
Step 3 – Pick the Photos
Once you have created your Mood Board Template, name it (or give it a working title) and start searching for images.
Our Top 5 Free Online Resources for Photos
- Unsplash
Everything is royalty and copy-right free and our go-to for use in our Mood Boards and Templates. - Kaboompics
Choose from individual photos, photoshoots or colour palettes. - Pexels
Beautiful quality and selection of images. - Pixabay
A great variety, but you’ll need to join before you can download any photos. - Rawpixel
We like both the Photos and illustrations they offer.
Choose Your Colours
If you are unsure of what colours to add to your mood board, using the images you collected will be a helpful resource. And, ask yourself the following questions:
Are there any photos with similar hues (colours)?
What are the neutrals that are standing out – any white, cream, black or grey?
What do the colours in the images mean to you?
In our Wanderlust Weddings mood board, we wanted to create a relaxing, light, tropical feel. If we were to use a dark, moody colour scheme, there would be a conflict and confusion to the overall theme.
Wanderlust Weddings Colour Palette
The coloured photos are the real stars of this mood board, so we had to be cautious about not distracting from the stars by introducing too many other colours.
Instead, we pulled colours from the photos to create a beautiful flow and balance.
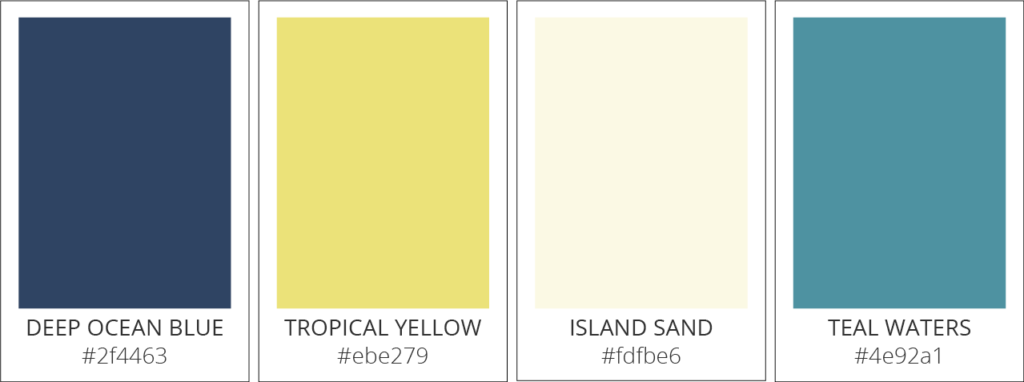
We found Navy, Lemon and Teal as the dominant colours in our photos and felt this collection of colours represented the exact theme of our Mood Board.
Our colour selection had additional meaning as they also represented the words and feelings of our Mood Board.
Insider Tip:
Just like our Mood Boards, we like to name to give a unique name to each colour we add.
Sure, we could have left it at Navy, Yellow and Teal, but it’s so much more fun and meaningful to give it a name that relates to the Mood Board.
To bring everything together and complete your Colour Story, make a few bullet points about why you choose each colour.
- Deep Ocean Blue – calm, relaxing, pools, boats
- Tropical Yellow – sand, tropical flowers, cocktails, sunrises
- Island Sand – peaceful, soothing, shells
- Teal – tropical waters, sky, island life
Step 5 – Find Your Fonts
We covered Font Pairing and broke down the HOW WHAT & WHERE of choosing fonts for your Mood Board in Part 1 – Click here to read it now.
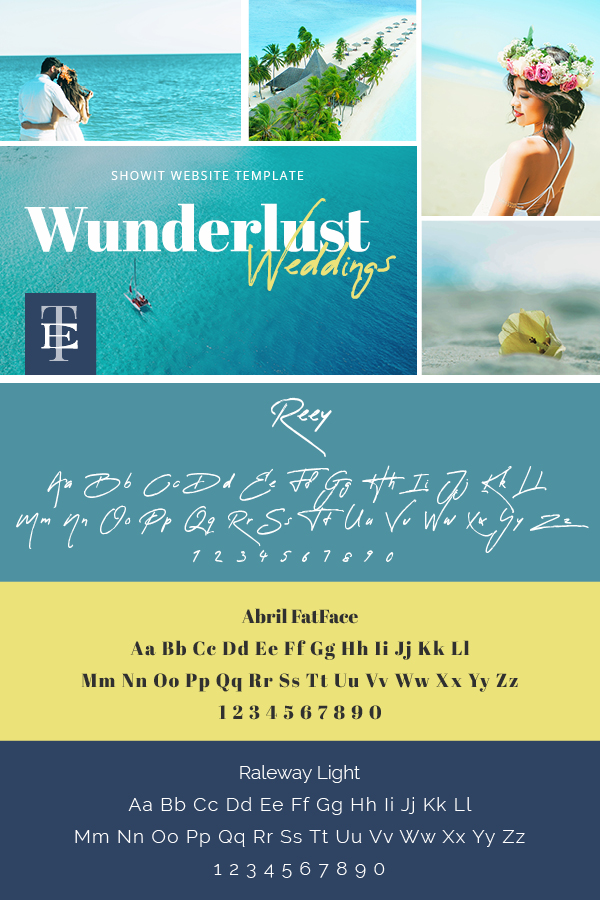
For our Wanderlust Wedding Mood Board, we wanted a carefree, relaxed style feeling with our fonts.
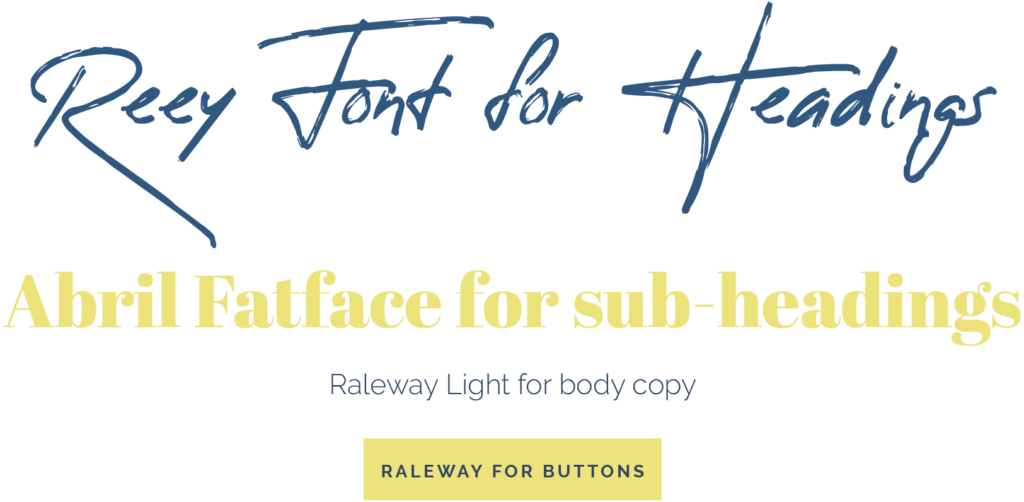
For the heading, we wanted a hand-written style of font.
We choose Reey font as we felt it mimicked the feeling of writing your name in the sand with a long stick while wandering along the shoreline.
We paired this with a second and third font, Abril Fatface and Raleway due to their soft rounded corners and edges.
They are both fun and relaxed fonts capturing the theme of our Mood Board and still complement the Main Font.
Using a font that looked too structured or with straight lines would not fit in with our theme and cause a disconnect.
To create balance and to help stick to your theme, always spend time researching and considering your fonts carefully, rather than just picking them at random.
You Did it!
Well, that’s a wrap on Part 2 of our Inspirational Mood Board Series – Destination Wedding Photographer.
We hope you are feeling inspired and ready to create your own Mood Board. Be sure to email us a copy of it!
Your Action Steps:
- Decide on a Mood Board Idea – Pick a theme, name, and tagline.
- Finalise the Format – Physical or Digital? (Or both!).
- Pick the Photos – Try a free online resource from our list.
- Choose your Colours – Pull out colours from your chosen photos.
- Find your Fonts – Do your fonts match your theme?
Where to next?
Part 3 – Artwork & Design Surface Pattern Edition – Show Me Now
Part 1 – Elegant Weddings Photographer Edition – Let’s See It
See how this Mood Board turned into a Website Template – Check it Out
Want more insider tips?
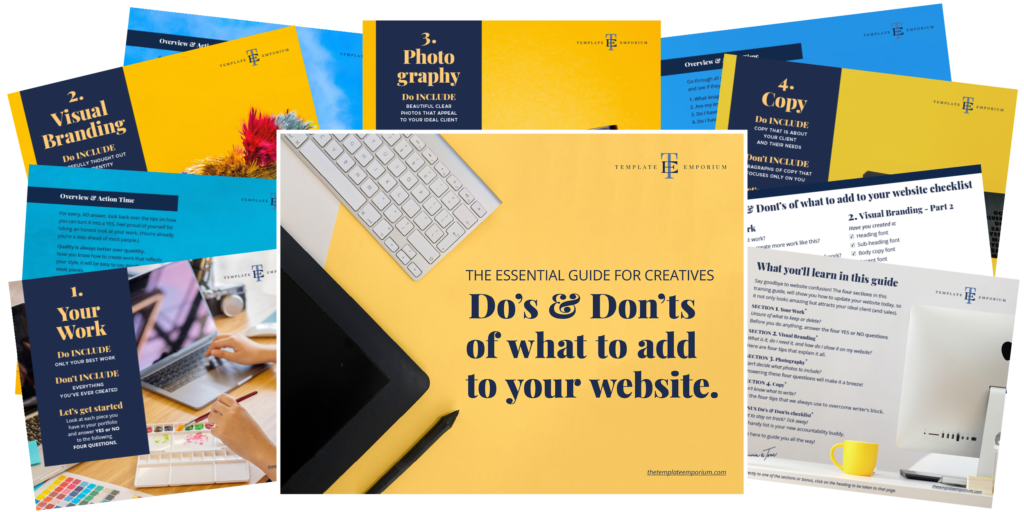
Grab our FREE Essential Guide for Creatives. “Do’s & Don’ts of what to add to your website”. We give you a simple plan to follow so that you’ll never have to question what to show online again.
Like this Blog Post?
PIN IT FOR LATER. And for more helpful tips follow us on PINTEREST.
Search
Create & launch your website in a
few simple steps
FREE GUIDE
While you’re here,
grab our FREE
‘Do’s & Don’ts of what to add to your website’ Guide.
‘Do’s & Don’ts of what to add to your website’ Guide.
When you sign up, we’ll send you
emails with additional helpful content.
About Lavinia & Tom
Hi, we're so glad you found us.
We love helping creatives like you finally have the website you’ve always wanted.
Blog Categories
Follow us